Picture
Insert an Image
Add a picture to the email by moving the "Picture" instrument to the desired position.

You will see a button "Insert image". After clicking on it, a menu will appear with several options for inserting the image.

1. Upload a Standard Image
Insert an ordinary picture file after clicking on "Upload from computer" button. A file browser will appear. Find the desired picture.
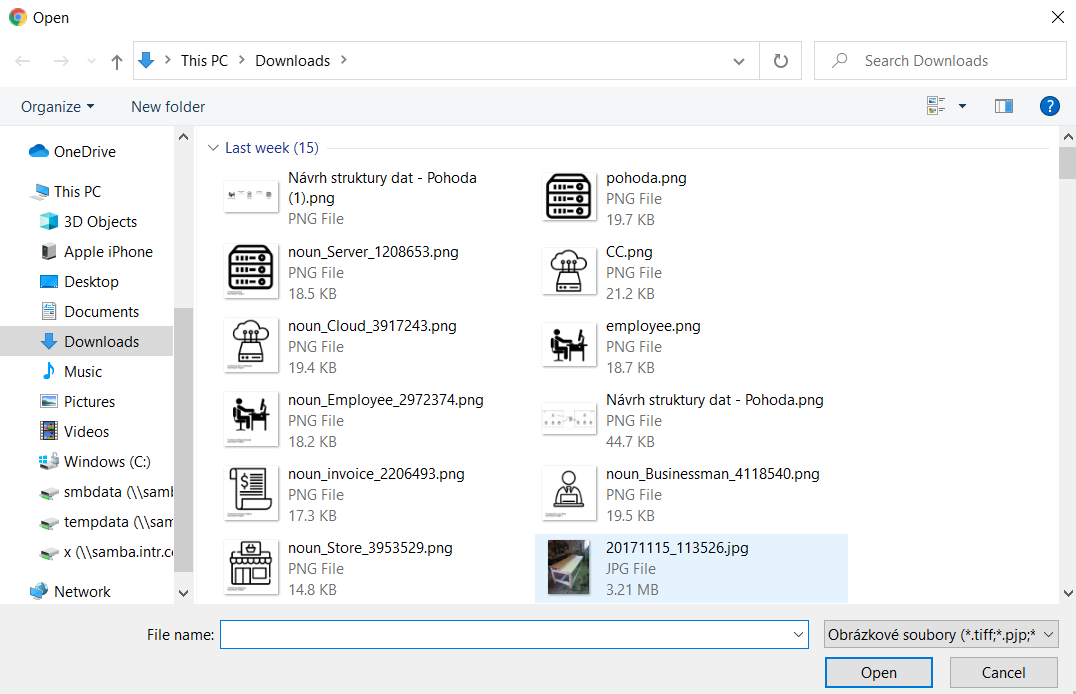
Click on the "Open" button.
The image will appear in the email.

2. Upload Images from a CDN Repository
Click on "Search the CDN repository". You will see previously used images in the CDN repository. You can choose an image from the entire repository, or select a specific template and use the image defined in that template.

Select the desired image and click on the "Use image" button.

3. Insert a URL Link
Click on "Insert image URL" . A window will appear.

Enter the link and click on the "Download" button. The image will appear in the email.
4. Upload a Dynamic Image
Click on "Use variable" to insert a picture as dynamic content taken from CareCloud platform. This option is prepared for using dynamically generated pictures, i.e., inserting a customer profile photo (avatar on the customer account) into the email. The avatar is inserted as customized dynamically generated content automatically taken from the customer account.

A form will appear.

Check the Link box to add a link to the image. Insert the Alt text.

Choose the personalized variable — customer profile photo, voucher, QR code or Barcode

Set the picture width and the alignment.

You can edit the layout of the generated picture — see more here.
Image Editor
To open the Image editor, click on the "Image editor" icon.

Learn more about image editor here.
Image Properties
To set the properties of the image, click on the "Edit item" icon.

Learn how to set the size of the image, alt text, and link here.
Remove an Image
To remove the image from the email, click on the "Remove item" icon above the image.

A confirmation will appear.
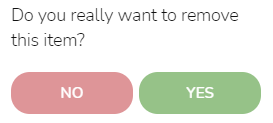
Click on the "Yes" button to confirm it.

Reupload an Image
To reupload an image in the same position, click on the "Reupload image" icon.

Click in the image upload field and follow the same steps as at the beginning.

Move an Image
To move the image to a different position, click on the "Move object" icon, and hold while dragging the image to the desired position. Then release.
