Image Properties
To set the image properties, click on the "Image properties" icon.

A form will appear.
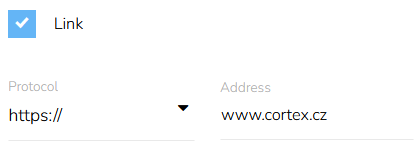
Click on the Link to select the type of URL protocol and insert the desired landing page URL address.
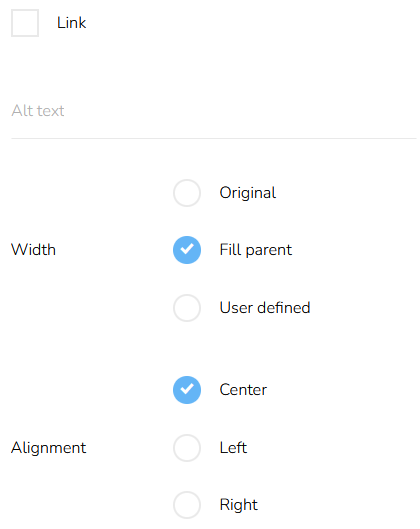
Fill the "Alt text" field with the desired alternative text. Alt text is the text that will be displayed in a case when the picture can not be loaded (slow connection, image blocking, etc.). This text should briefly describe the picture.

Set Width and Content alignment.

Background Color
Click on the "Background color" icon.

Set the background color of the button.

Padding
To set the padding of the block, click on the "Padding" icon.

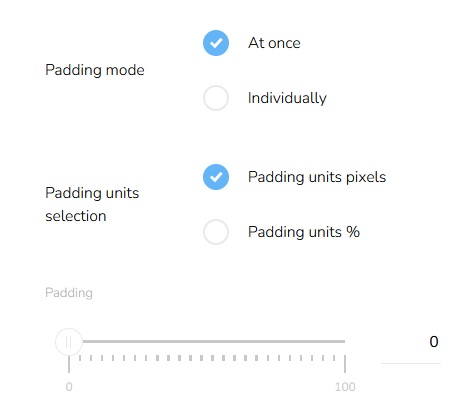
Select the padding mode — whether it is the same for all sides or different for each side. Select the units and then set the padding for all sides at once or individually for each side.
Border Setting
Click on the "Border settings" icon.

Set the border width, border style, and mode of border setting — individually or at once and set the border radius — same for all corners or individually for each corner.Then choose the Border color.

Then switch to the "Background" and set everything necessary the same way.

Shadow Setting
Click on the "Shadow setting" icon.

Set the shadow blur, shadow spread, and shadow mode.

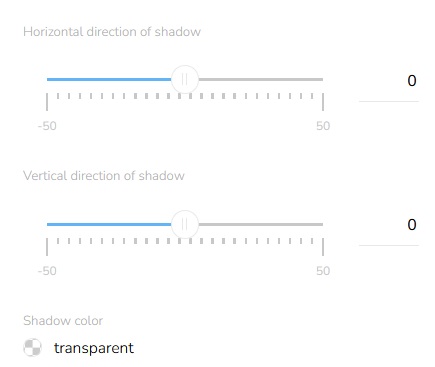
Set the horizontal and vertical direction of the shadow and choose a shadow color.
CSS Classes
You can set CSS classes. Click on the "CSS classes" icon.

A window for CSS classes will appear.
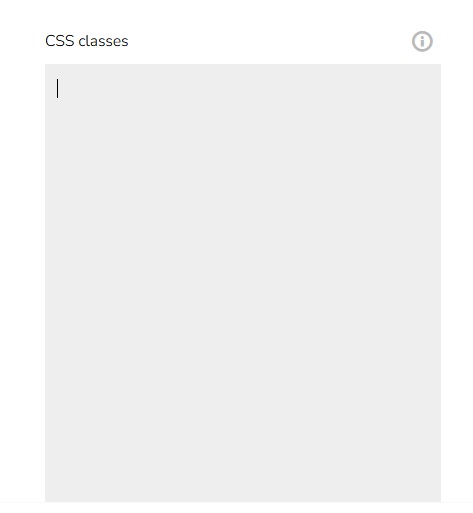
A valid CSS class should be at least two characters long, starting with a letter and followed by any numbers, dashes, underscores, or other letters, no other special characters except dashes and underscores are allowed. Spaces are used to separate multiple classes. Custom CSS rules can then be applied to these CSS classes.
Resize an Image
To resize the image, find the "Resize the image by dragging" icon in the lower right corner.

Click and hold the icon to adjust the image size, then release.