Social Networks
[avatar-to-video image="https://cdn.carecloud.cz/help/avatar.png" video="https://cdn.carecloud.cz/help/video/social-networks.mp4"]
Add links to social networks with icons by moving the "Social networks" instrument to the desired position in the email body.

Links to Networks
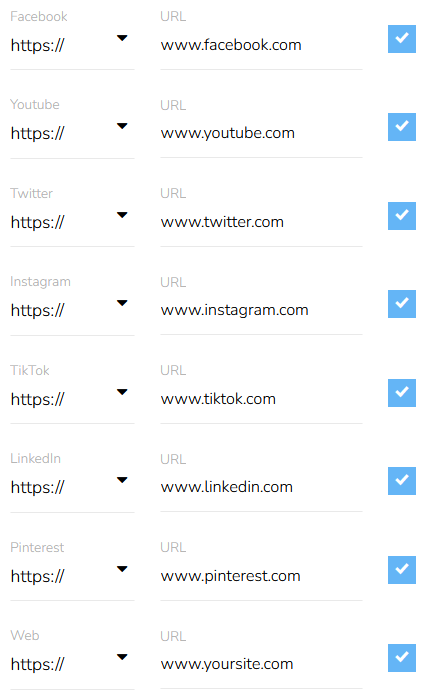
To set links, click on "Social networks."

Here are the social media icons you can use. Only icons that are checked will appear.

Style of the Icons
Click on the "Basic settings."

Set how the icons will be displayed — In a row or In a column. Set the size of the icons. Set the spacing between the icons.

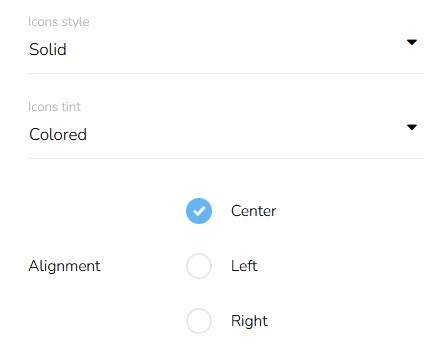
Select the Icons style — Solid, Outlined, or Minimalistic. Set the Tint of the icons — Black, White, or Colored. Set how the icons will be aligned — Center, Left, or Right.

Remove Social Networks
To remove the Social networks from the email, click on the "Remove item" icon above the Social networks.

A confirmation will appear.

Click on the "Yes" button to confirm it.

Move Social Networks
To move the Social networks to a different position, click on the "Move object" icon and hold while dragging the image to the desired position. Then release.

Edit Social Networks
To edit Social networks, click on the "Edit item" icon.

A form will appear. The editing process is the same as the creation process.