Creating Tasks
[avatar-to-video image="https://cdn.carecloud.cz/help/avatar.png" video="https://cdn.carecloud.cz/help/video/creating-a-task.mp4"]
Open the application "Customer 360 View".
In the left menu, choose "Tasks" and "Tasks overview".
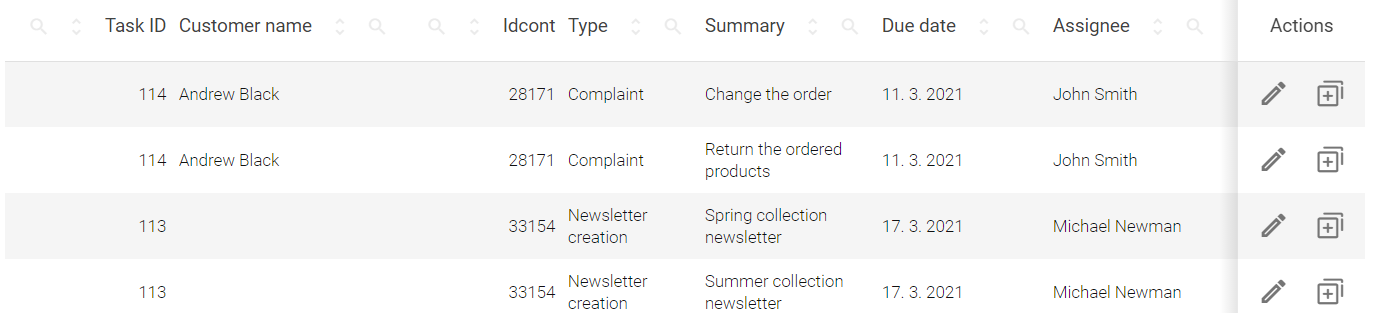
The table with the tasks overview will appear. To create the new task, click on the icon "New task" in the header of the table.

In the left column, create a Task name, choose the Task type (create your own task types and set the task properties — due date, priority, customer name, in the Loyalty & Administration app.) and fill in the Description. Select which user the task should be assigned to, the due date, the task’s priority, and the status. Eventually, it is possible to insert files and fill messages to the customer.

If it is necessary to assign the task to a specific customer, put the details in the search tool in the right column, find the account that you want to assign the task to, and select it by clicking.

When everything is set, click on the button "Save".

The new task will display in the tasks overview, where it is possible to search for the tasks or filter the tasks.
To edit the parameters, add the comment, or view the added comments at the specific task, click on the icon "Edit".

After editing the parameters, save the task and check it in the tasks overview.