New Workflow Creation
[avatar-to-video image="https://cdn.carecloud.cz/help/avatar.png" video="https://cdn.carecloud.cz/help/video/workflow-trigger.mp4"]
To create a new workflow, click on the "Plus" icon on the right side of the List of Workflows.
![]()
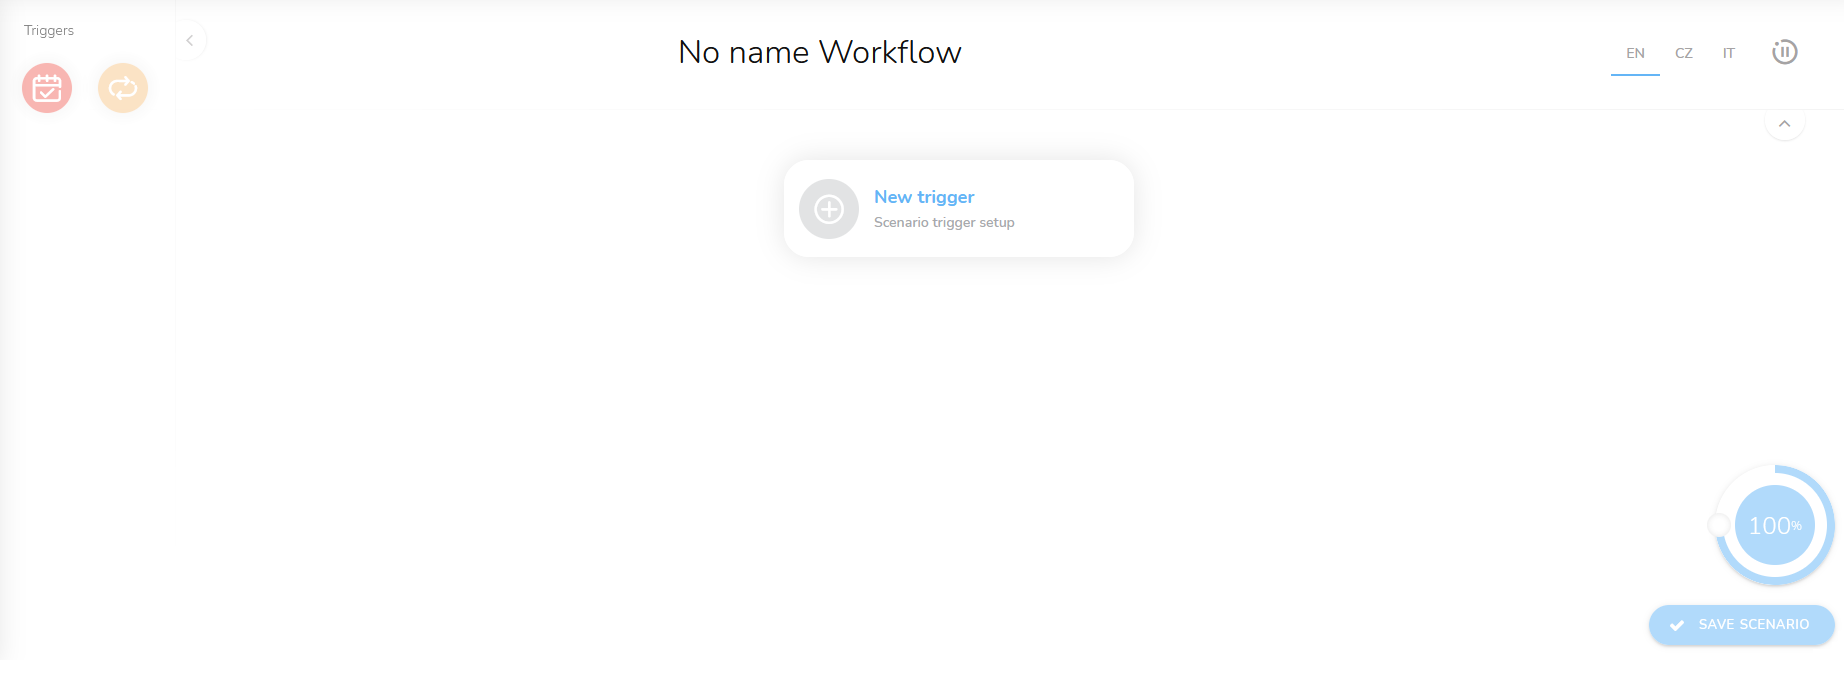
A workflow designer will appear.

Workflow Name
To name the workflow, click on the text field.

Mark the text and insert a new name.

Insert the name also in different language versions.

Entry Points of a Workflow (Triggers)
Workflows are triggered by entry points — triggers. Triggers are Events or Repetition. To add the trigger, click on the New Trigger icon.

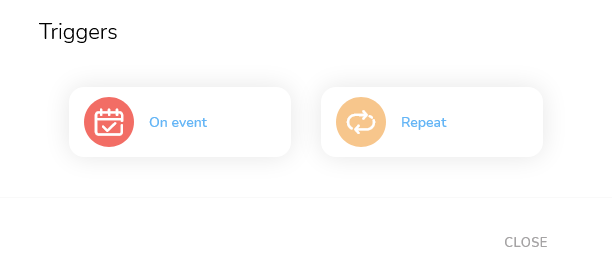
A window with triggers will appear.

New Event
When the system registers the selected event, the workflow starts automatically. For example, the workflow can be triggered by these events: Registration of a new account, Change of reservation status, Card assignment, or New purchase. To use this trigger, click on the On Event option.

The node will appear. Click on it.

A form will appear.

Choose an event from the list of events.

To confirm your choice, click on the "Confirm" Setup button.

Repeated Workflow Run
Workflows can be triggered by periodical repetition. Set a time when the workflow is repeatedly triggered. Accounts will be or will not be included in the workflow based on the definition of conditions in the workflow.
For example, this option can be used when creating a Birthday workflow. The system picks all accounts that have a birthday at a specified time (e.g., every day at 10 a.m.) and then executes the desired action — e.g., sends them wishes by email or SMS.
To add this trigger, click on the "Repeat" option.
![]()
The node will appear. Click on it.

A form will appear.

Repeat Daily
Choose the "Repeat Daily" option. The workflow will start every day.

Set a specific time when the workflow will start.

Repeat on Days of the Week
Choose the "Repeat on Days of Week" option. The workflow will start on specific days of the week.

Mark the desired days in the week.

Set a specific time when the workflow will start.

Repeat on Days of the Month
Choose the “Repeat on Days of the Month” option. The workflow will start on specific days of the month.

Insert the specific day or days of the month. In case you need to use more days, separate the values with a comma.

Set a specific time when the workflow will start.

To confirm the settings, click on the "Confirm" Setup button.
