Create New Segment
[avatar-to-video image="https://cdn.carecloud.cz/help/avatar.png" video="https://cdn.carecloud.cz/help/video/vytvoreni-noveho-segmentu.mp4"]
A segment is a group of customers with the same specific characteristics or properties. Customer segments are created by dividing customers into groups based on specific characteristics so you can handle each group effectively and appropriately in the CareCloud platform and your integrated IT ecosystem.
Open application "Loyalty & Administration".

Click on the "Customer segments list ".

The "Customer segments list" table will appear.

In the header of the table, click on the "Create new" icon.

You have two possibilities. Define conditions for the new segment or create an Create an empty segment.

Create an Empty Segment
You will use the empty segment mainly to insert customers into the segment using the Marketing Automation application.
Choose "Create an empty segment".

"Empty segment creation" table will appear.

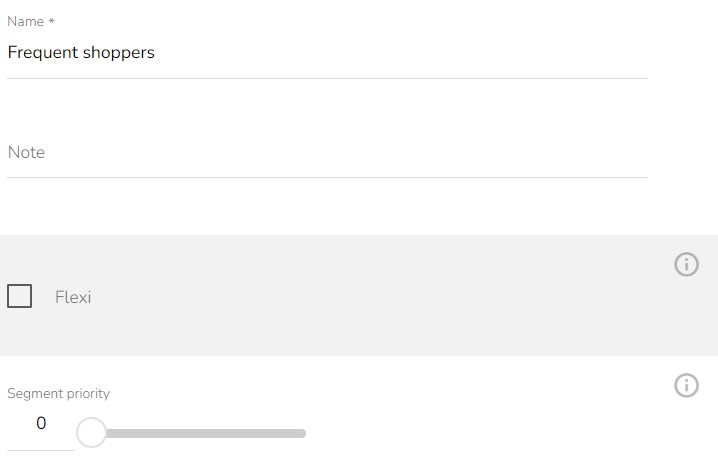
Fill in the name and write a note if you need. The segment priority enables displaying or assigning segments in integrated applications according to a defined priority. This parameter is not usually used within the CareCloud platform.

When everything is set, click on the "Create empty segment" icon.

Define Conditions for the New Segment
Choose "Define conditions for the new segment".

"Customer segment definition" table will appear.

Fill in the name and write a note if you need. Choose whether the segment is a Flexi segment. Set the segment priority in case you have multiple flexi segments that are recalculated for you at the same time and you want certain segments to have priority.

Then set segment criteria.
Consent Types Criteria, Settings of Partners and Business Units, Socio-demographic Criteria, Purchasing Behavior Criteria, RFM Criteria, Shopping Cart Criteria, Loyalty Program Criteria, Voucher Criteria, Contact Sources Criteria, Purchase Transaction Type Criteria, Select Customers by Previous Audiences, Exclusion of Customers According to Previous Audiences, Selection of Customers by Customer Segments and Badges, Exclusion of Customers According by Customer Segments and Badges, Additional Details Criteria, Selection of Customers by Previous Email Campaigns, Selection by Click&Collect Criteria, Select by Account Relations and Events Criteria.
You can set a tag assignment.

When everything is set, click on the "Save" icon.
