Header Creation
Click on the "Header Creation" in the bottom part of the Designer.

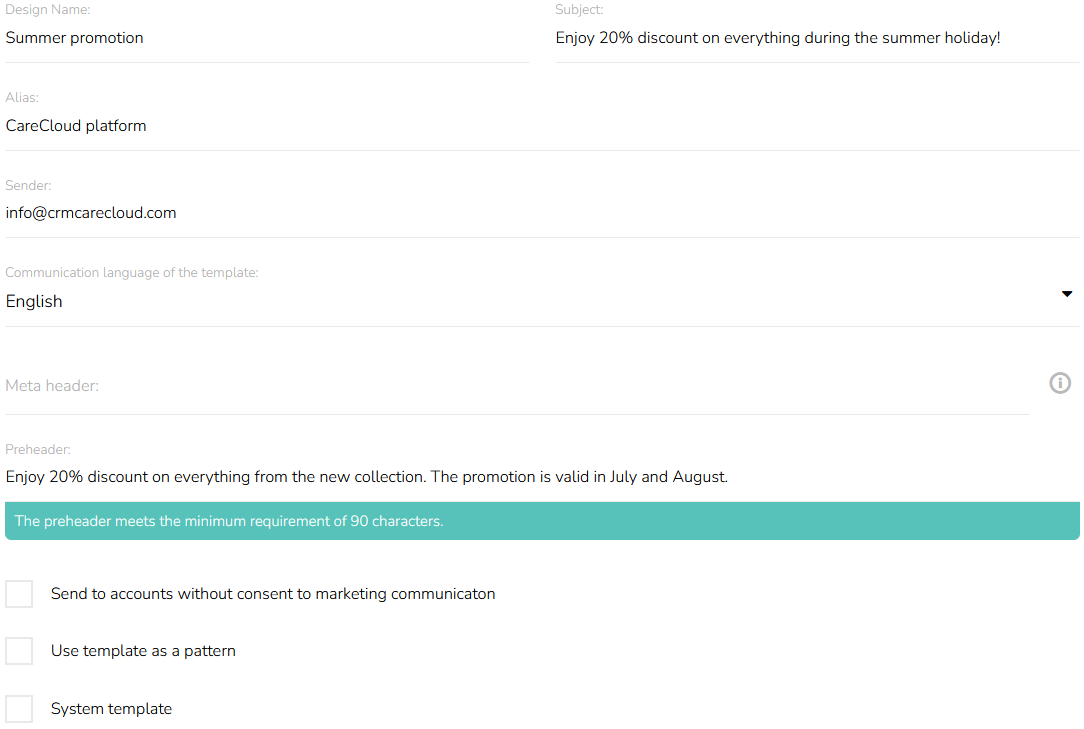
A form will appear.

Insert the Design Name.

Insert the Subject of the email.

Select the communication language of the template.

Insert an Alias — a name that will be displayed to the customer in the mailbox.

Insert a Sender. An email address from which the emails will be sent.

Also, you can insert meta tags, for example, to prioritize the email in the inbox. Agree with your mailbox provider the exact syntax and format of the meta tag.
Entry format: name:content
You can enter multiple tags at once: name1:content1,name2:content2
Meta tags are special elements that are written in the header of a page in an HTML document and that carry information supplementing the content of the email. These are not directly visible when viewing the email, but help email clients to better interpret the content.

Insert a Preheader. The preheader is a text that is displayed after the subject in the email preview. Aim for at least 90 characters in your preheader. The system will notify you once you've reached the minimum.

Select whether the template should be sent to the accounts without consent to marketing communication. This option is used mainly for system emails, such as password recovery, etc.

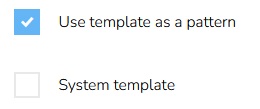
Select if the template should be used as a pattern. Select if the template is a system template or not — system templates have special reporting.

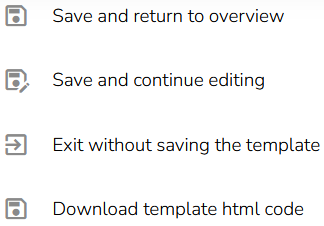
If everything is set, hover the mouse over the last icon in the bottom part of the Designer.

You have several options — "Save and return to overview", "Save and continue editing", "Exit without saving the template" and "Download template HTML code."
